

How to Fix Thread Tension Problems on Your Industrial Wig Sewing Machine
Introduction
Tension problems are one of the most common issues reported by industrial wig sewing machine users. Whether you're seeing loose loops on the underside of your work, skipped stitches, or thread breaking mid-seam, the root cause is usually one of a handful of fixable issues. This guide walks you through a systematic troubleshooting process for all of our machines — the Normal Version, Direct Drive, Computerized, and Zig Zag & Straight Stitch industrial wig sewing machines.
Work through each section in order. Most tension problems are resolved before you reach the end.
1. Identify the Symptom
Before adjusting anything, pinpoint what you're seeing:
- Loose loops on the bottom of the fabric — upper thread tension is likely too loose, or the bobbin tension is too tight.
- Loose loops on the top of the fabric — bobbin tension may be too loose, or upper thread tension too tight.
- Skipped stitches — often a needle issue, but can also be caused by incorrect threading or a damaged needle plate.
- Thread breaking frequently — tension may be set too high, or the thread path has a snag point.
- Uneven stitch length — often a feed dog or presser foot pressure issue rather than true tension.
2. Check the Needle First
A surprising number of tension and skipped-stitch problems trace back to the needle. Before touching the tension dial, verify the following:
- Needle is fully inserted. Push the needle all the way up into the clamp until it stops, then tighten the set screw firmly.
- Flat side faces the correct direction. On all four of our machines, the flat side of the needle shank should face away from you (toward the back of the machine). An incorrectly oriented needle is a very common cause of skipped stitches.
- Needle is not bent or dull. Run your fingernail lightly down the shaft. Any roughness means it's time to replace it. Replace needles regularly — after every project or whenever you notice skipping.
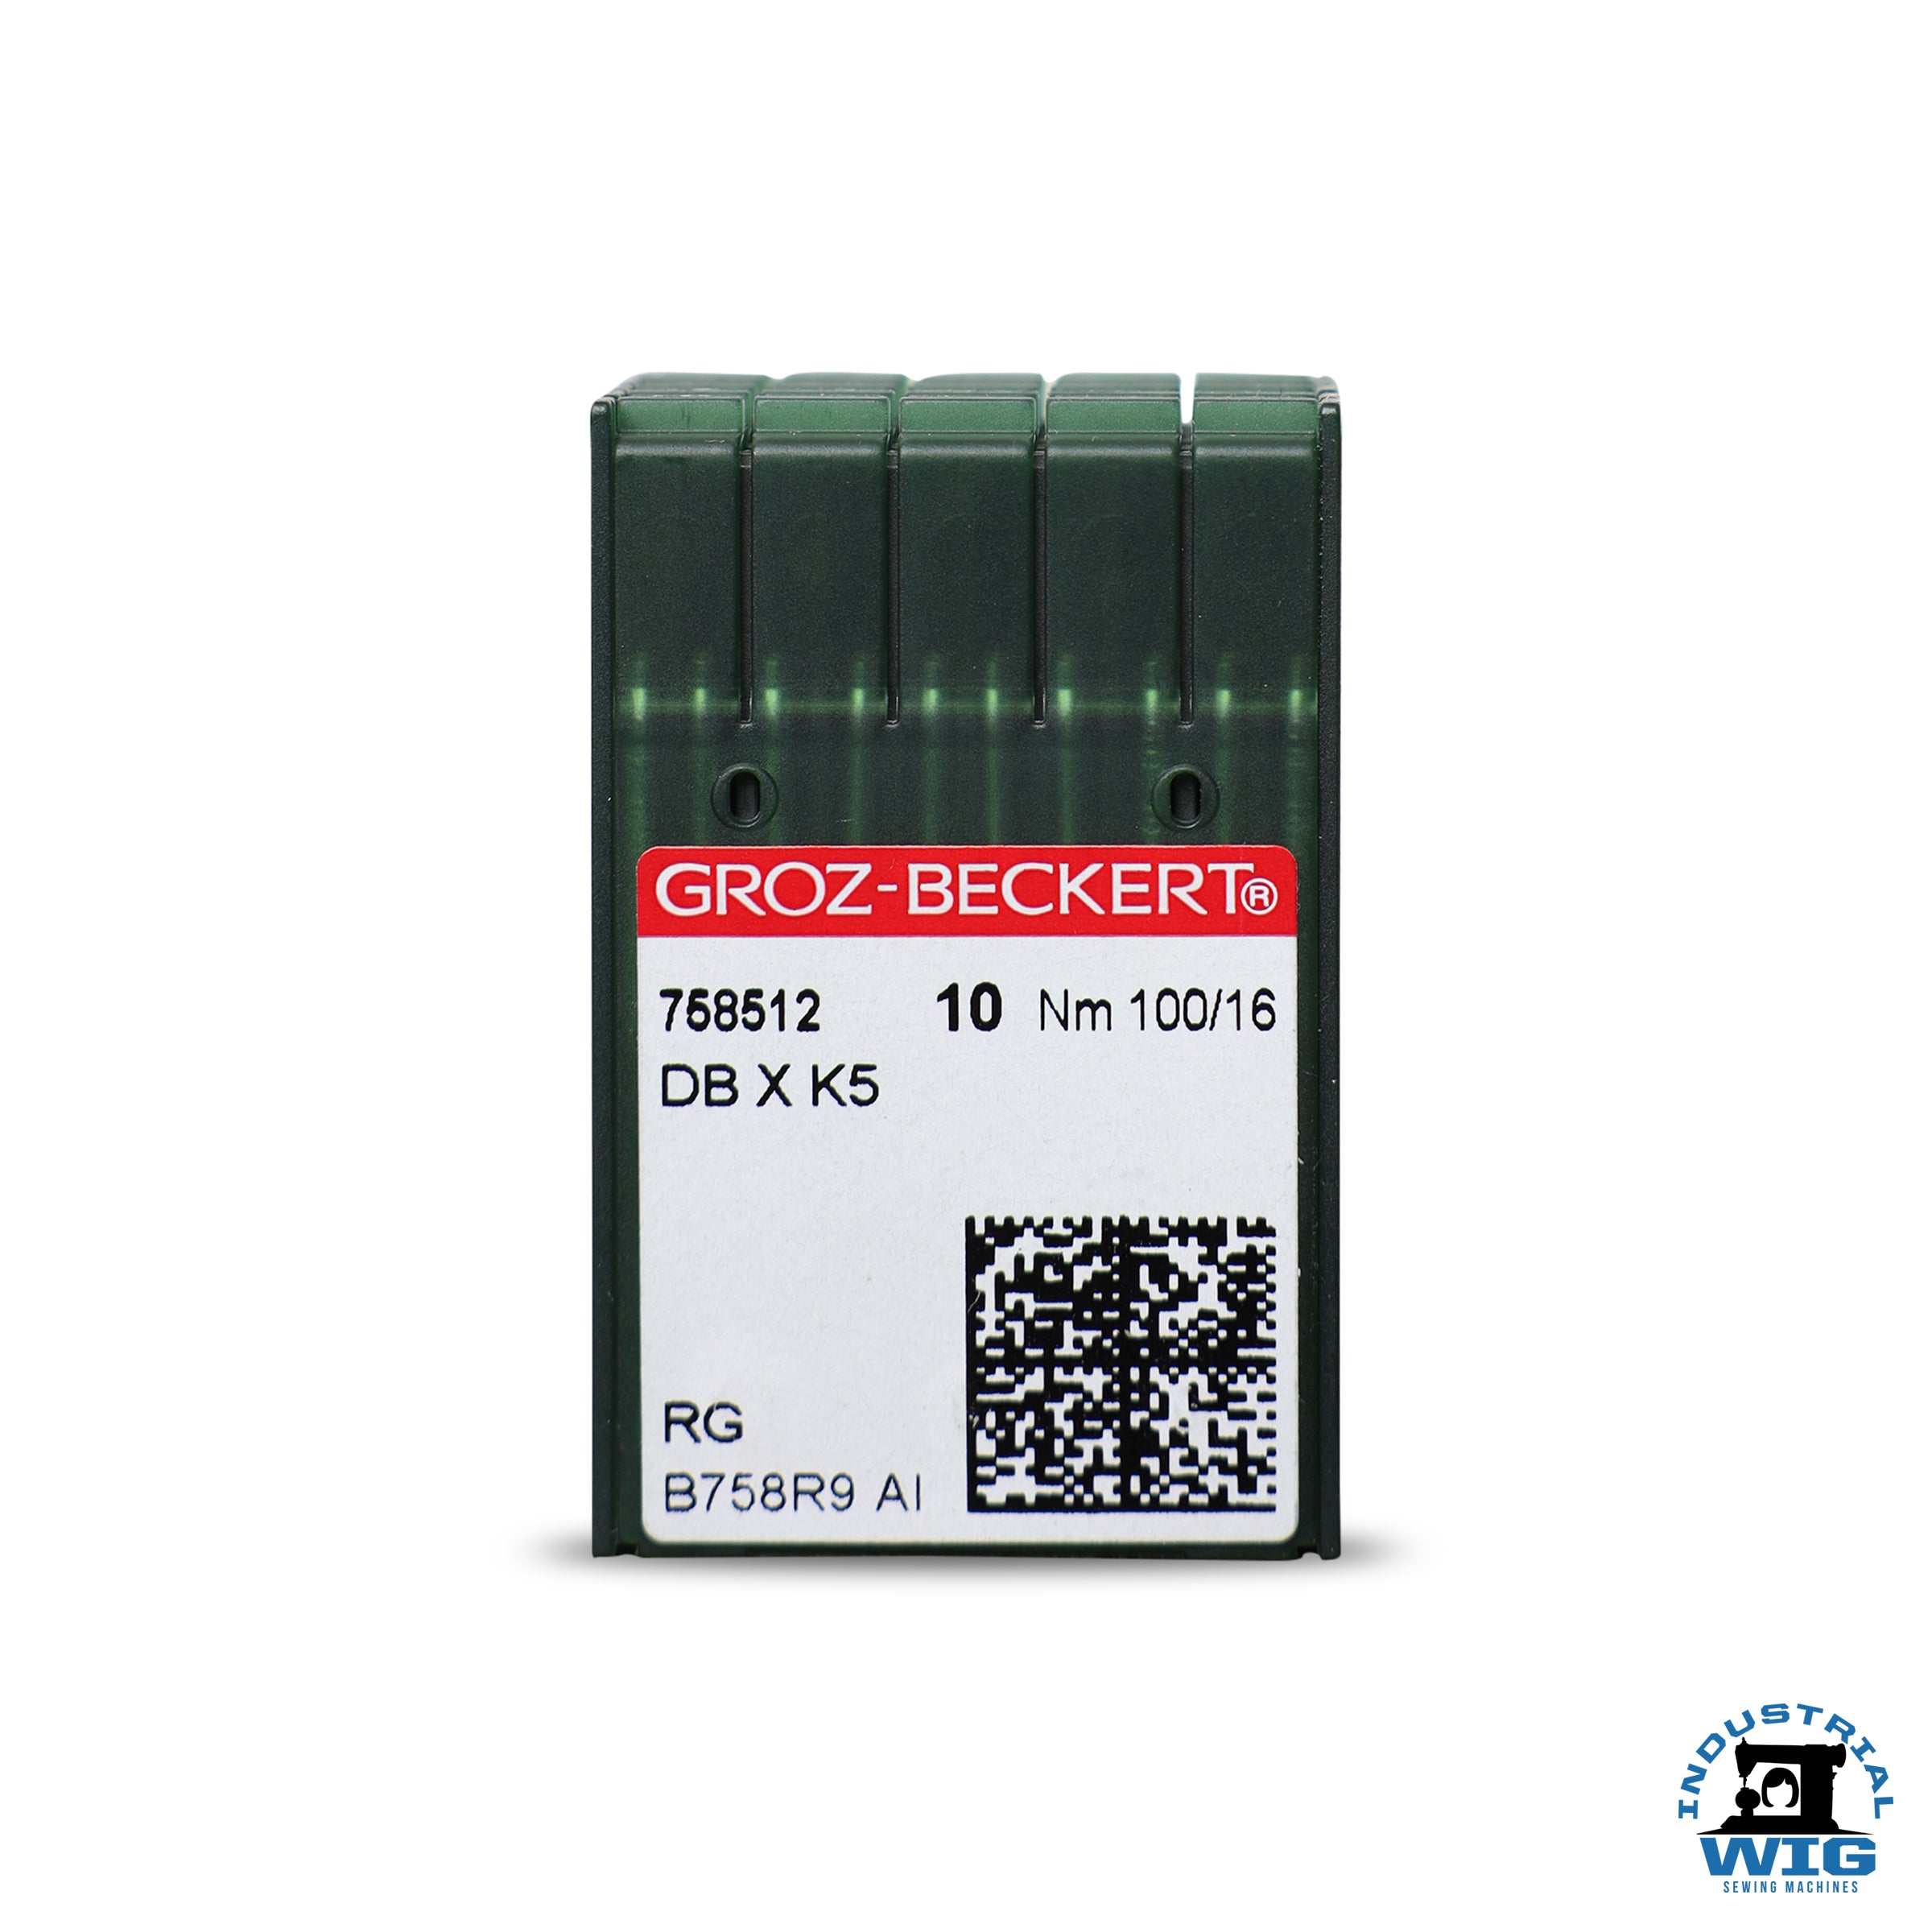
- Needle size matches your thread and material. Heavier wefts and thicker thread require a larger needle (e.g., size 16 or 18). Using a needle that's too small for the thread creates friction and erratic tension.
3. Check the Presser Foot
- Confirm the presser foot is locked in the lowered position before you sew. Sewing with the foot raised disengages the upper tension discs entirely, causing very loose upper thread.
- Make sure the presser foot pressure is appropriate for your material. Very light material sewn with high foot pressure can cause puckering that resembles a tension problem.
- Inspect the foot for burrs or rough spots that could snag thread as it passes through.
4. Re-thread the Upper Thread Path
Incorrect threading is the single most frequent cause of upper tension problems. Even if you've threaded the machine many times, it's worth re-threading from scratch:
- Raise the presser foot lever. This opens the tension discs so the thread seats correctly between them.
- Place your thread spool so it unwinds smoothly and without twisting.
- Follow the thread path shown in your machine's Set Up Guide exactly — through each guide, around the tension discs, through the take-up lever, and finally down through the needle bar guide and needle eye.
- Thread the needle from front to back (or as specified for the Zig Zag model).
- Leave a 4–6 inch tail of thread hanging free before you start sewing.
Key check: After threading, tug the upper thread gently. You should feel a slight resistance. If there is zero resistance, the thread is not seated between the tension discs — raise the presser foot, remove the thread, and re-seat it.
5. Adjust the Upper Tension Dial
Once you've confirmed the needle and thread path are correct, adjust the tension dial:
- Most of our machines use a numbered dial (typically 1–9). A mid-range setting (3–5) is a good starting point for standard wig weft material.
- Sew a short test seam on scrap material. Examine both sides.
- If loops appear on the bottom: increase the upper tension number by one increment, test again.
- If loops appear on the top: decrease the upper tension number by one increment, test again.
- Make small, incremental changes — one number at a time — and always test after each adjustment.
On the Computerized Industrial Wig Sewing Machine, tension adjustments may also be accessible through the digital panel. Refer to the Set Up Guide included with your machine for the exact steps.
6. Check and Adjust the Bobbin
Bobbin issues are often overlooked but can mimic upper tension problems.
- Wind the bobbin evenly. An unevenly wound bobbin creates inconsistent thread delivery and erratic stitches.
- Don't overfill the bobbin. Thread wound too high on the bobbin can cause it to drag inside the case.
- Seat the bobbin correctly. The thread should unwind in the correct direction for your machine (check your Set Up Guide). On most of our machines the thread exits the bobbin counterclockwise when the bobbin is dropped in.
- Thread the bobbin case slot and pigtail. Pull the thread through the small slot in the bobbin case and under the tension spring until it comes out through the pigtail (the small hole or notch at the end). If you skip this step, bobbin tension will be zero.
- Test bobbin tension. Drop the threaded bobbin case, holding just the thread. With a gentle bounce, the case should descend very slowly. If it falls freely, the bobbin tension spring needs tightening (turn the small flathead screw on the case clockwise in tiny increments). If it doesn't move at all, loosen slightly.
7. Clean the Machine
Lint and thread debris accumulate quickly under the needle plate, in the bobbin area, and around the tension discs. Even a small build-up can cause inconsistent tension.
- Remove the needle plate and use the included brush (or a soft paintbrush) to clear lint from the feed dogs and bobbin compartment after every few hours of use.
- Blow compressed air gently through the thread guides and tension disc area.
- Apply a single drop of sewing machine oil to the hook race (the metal track the bobbin case rides in) and any other oiling points noted in your Set Up Guide. Wipe away any excess oil before sewing.
- Check that the tension discs themselves are clean and free of thread debris. Residue between the discs prevents them from gripping the thread consistently.
8. Check for Additional Causes
If you've worked through all of the above and still have tension problems, consider:
- Thread quality. Low-quality or old thread with inconsistent thickness causes tension fluctuations that no amount of dial adjustment will fix. Switch to a fresh spool of quality thread.
- Thread twist direction. Industrial machines are typically designed for S-twist thread. Using Z-twist thread can cause looping and skipping on some machines.
- Needle plate damage. A scratched or burred needle plate hole can snag the thread with every stitch. Run a fingernail over the hole — it should feel perfectly smooth.
- Timing issues. If the hook is not picking up the upper thread loop at exactly the right moment, no tension adjustment will produce a good stitch. Timing is an advanced adjustment — see the section below.
9. When to Contact Support
Most tension problems are resolved through the steps above. However, some issues require professional attention or are covered under your purchase:
- You've followed all steps and still cannot achieve a balanced stitch after multiple test adjustments.
- You suspect the machine timing is off (the hook and needle are not synchronizing correctly).
- There is unusual noise, grinding, or resistance when operating the machine.
- A mechanical part appears damaged.
In these cases, please visit our Industrial Wig Sewing Machines FAQ for answers to the most common questions, or contact us directly through the FAQ page. We're here to help you get your machine running smoothly.
Quick Reference: Tension Troubleshooting Checklist
- ☐ Needle is fully inserted, correctly oriented, and not bent or dull
- ☐ Presser foot is lowered before sewing
- ☐ Upper thread is re-threaded with presser foot raised
- ☐ Thread is seated between the tension discs (slight resistance when pulled)
- ☐ Bobbin is wound evenly and not overfilled
- ☐ Bobbin is seated correctly and threaded through the case slot and pigtail
- ☐ Bobbin tension passes the drop test
- ☐ Machine is clean — no lint in bobbin area or tension discs
- ☐ Upper tension dial adjusted incrementally and tested on scrap material
- ☐ Thread quality and twist direction confirmed